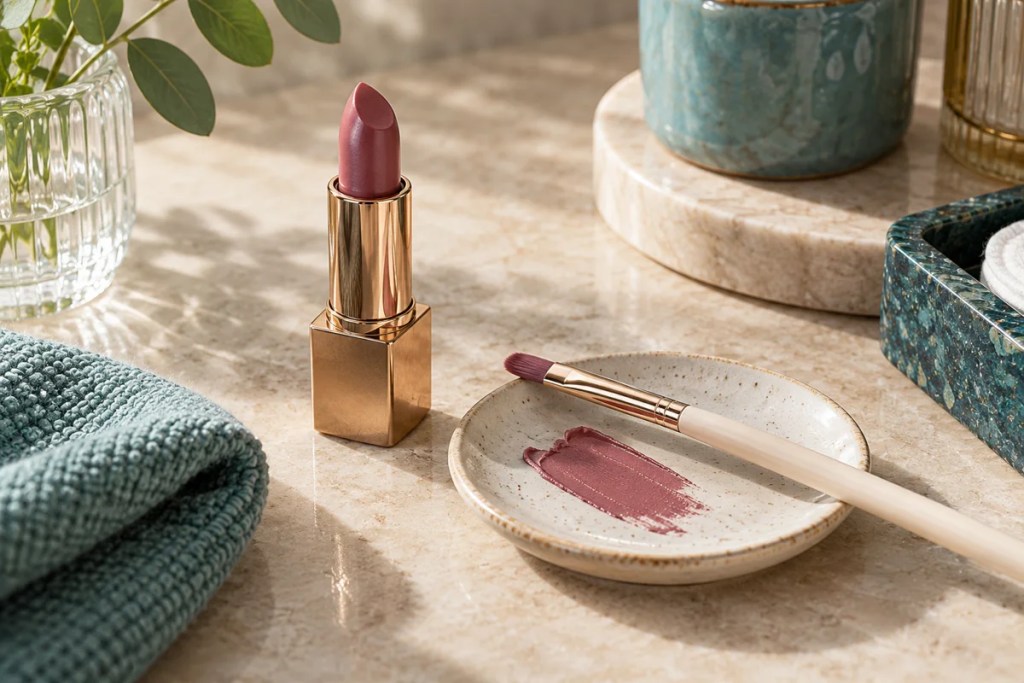
A lip brush can help place colour in small areas and soften the join between liner and lipstick. Direct application is usually simpler for a quick touch-up. Choose the method that gives you the finish you want with a routine you can comfortably repeat.
Etoraa editorial guide. Reviewed 28 October 2026. Original illustrations show generic objects; no comparative product testing was performed.
Match the tool to the job
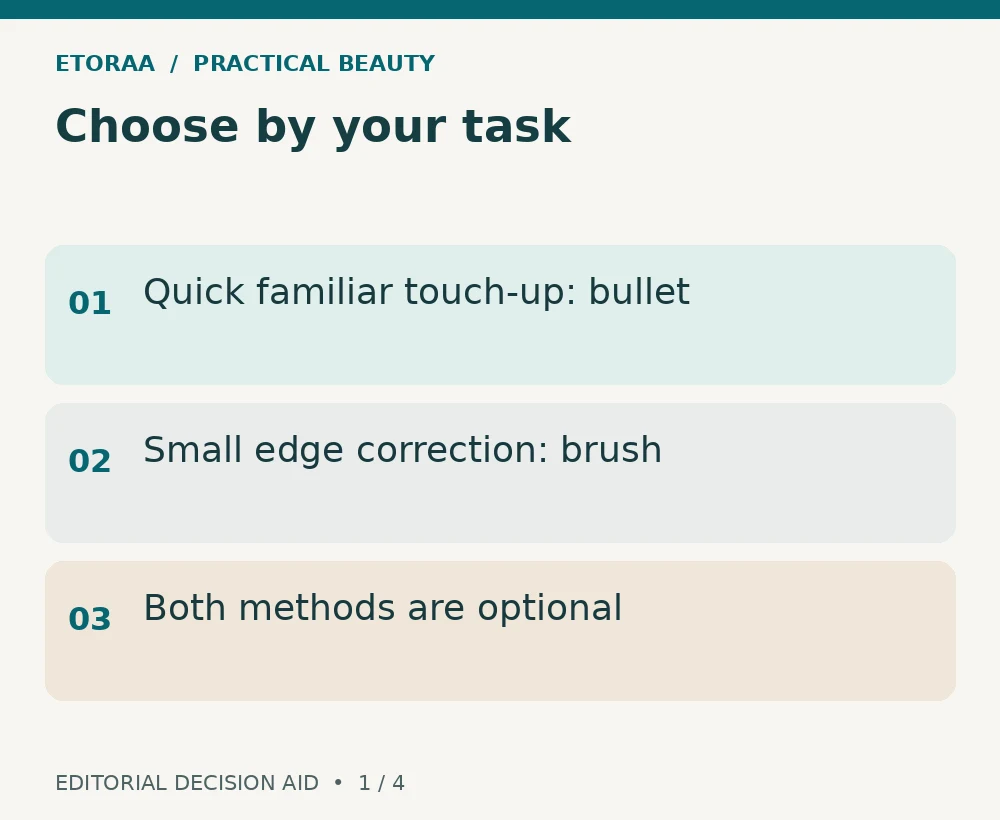
Start with one question: what is difficult about your current lipstick? If the centre goes on easily but the corners feel awkward, use a brush for the corners alone. If a familiar sheer shade already looks good from the bullet, an extra tool may add work without solving a problem.
MAC describes a lip brush as a tool for even application and blending. Charlotte Tilbury’s brush directions show picking up colour from the bullet with the tip. These are examples of controlled placement. They do not establish that everyone needs a brush or that every formula will wear longer when applied with one.
Try a small lip brush application
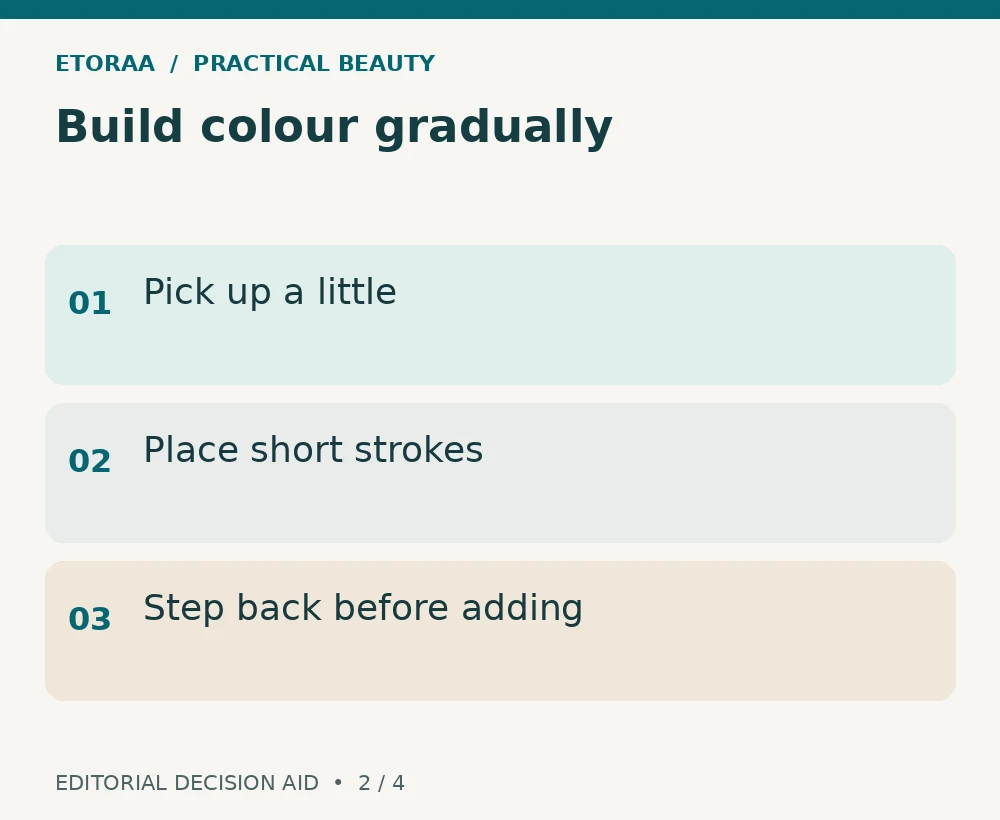
Begin with comfortable lips and a clean, dry brush. Pick up a little colour, then place it where you can see clearly in a mirror. Work in short strokes rather than loading the entire brush. Step back to check the result before adding another layer. Use the brush tip for a small correction rather than tracing an exaggerated shape by habit.
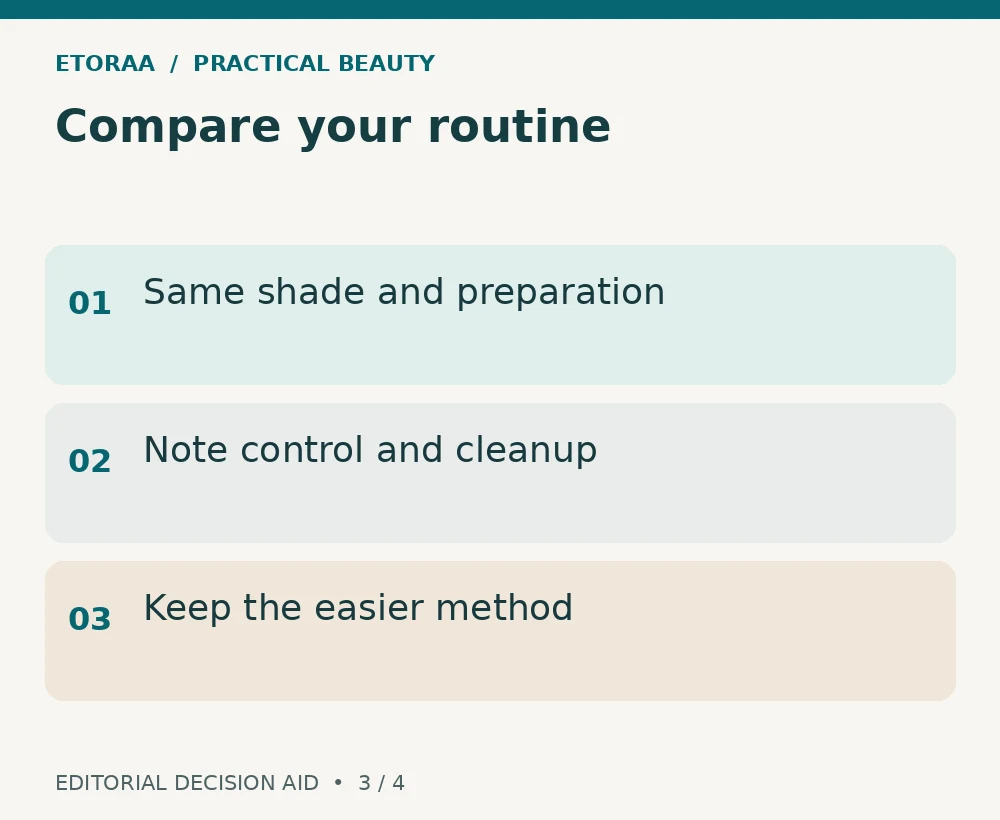
Keep the product, shade and preparation the same when comparing methods. On another day, apply directly and note what changes: time, edge control and the amount of cleanup. This is a personal preference exercise, not a controlled wear test or a promise of longer-lasting colour.
Plan the touch-up before leaving home
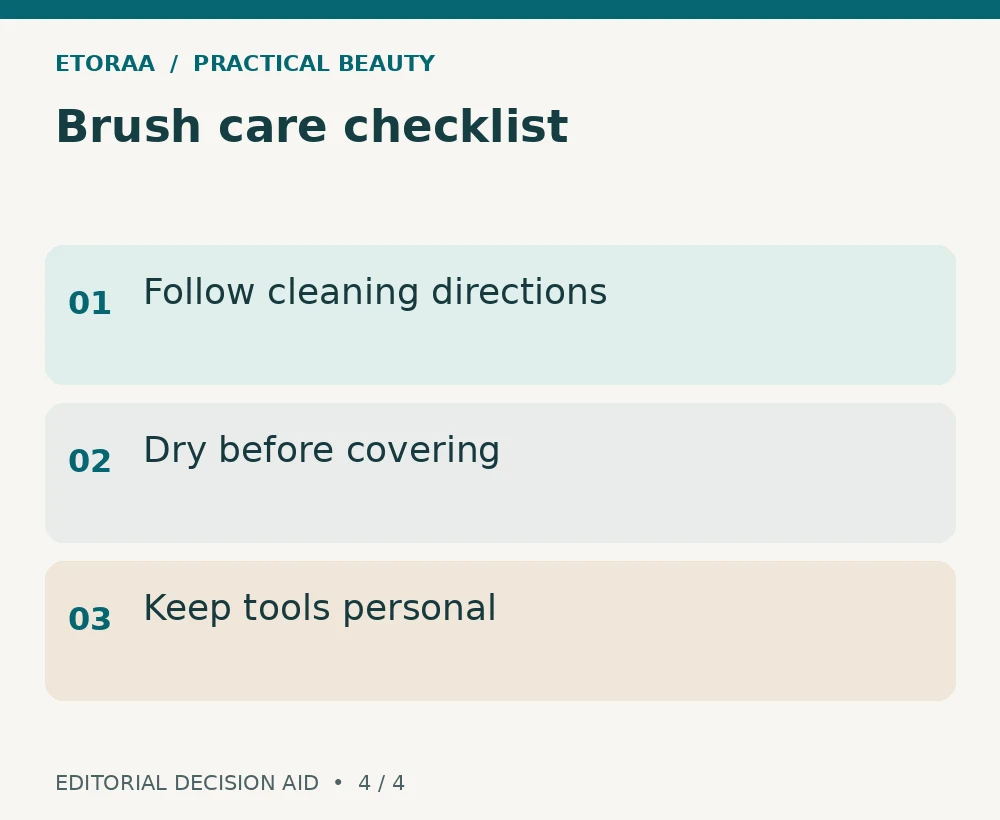
A brush can be useful at your dressing table but inconvenient in a small bag. If you take one out, protect the bristles with the clean cover supplied for that tool. Keep wet or freshly washed brushes out of a closed pouch until they have dried. Follow the brush maker’s cleaning and storage directions.
You can also combine methods: apply directly, then use a brush to tidy one edge. Our natural lip liner guide covers soft definition when you want a gentle outline. There is no need to carry several tools if one familiar lipstick meets your needs.
Keep personal use and shared use separate
Keep your own lip products and applicators personal. The FDA advises against sharing cosmetics. A clean-looking brush is not proof that a shared lipstick is hygienic. Retail testers and professional makeup services require an appropriate hygiene process; this everyday guide is not a substitute for that process.
Clean your brush using the method intended for its fibres and construction. Do not soak a wooden handle or metal join unless the maker allows it. If the brush keeps shedding or has a damaged tip, replacing the tool may be more sensible than repeatedly trying to reshape it. A useful tool should make your routine easier to manage.
Lip brush: frequently asked questions
Will a brush make lipstick last longer?
It can change how thinly you apply colour, but wear also depends on the formula, preparation and everyday activity. Treat longer-wear claims as product-specific.
Do I still need liner?
Only if it solves a separate need. Try your existing lipstick and brush before adding another product.
Can I use the brush for other makeup?
Check the maker’s intended uses, keep eye-area suitability in mind, and avoid carrying lip residue between different tasks.
Explore Etoraa’s beauty collection with a specific need and the product’s own directions in mind.
Sources and editorial scope
- MAC: what a lip brush does. Accessed 28 October 2026.
- Charlotte Tilbury: brush application. Accessed 28 October 2026.
The selection checklists and routine examples are Etoraa editorial suggestions. Manufacturer directions apply to named products; they do not establish a category-wide result. No paid endorsement or first-hand product trial is claimed.